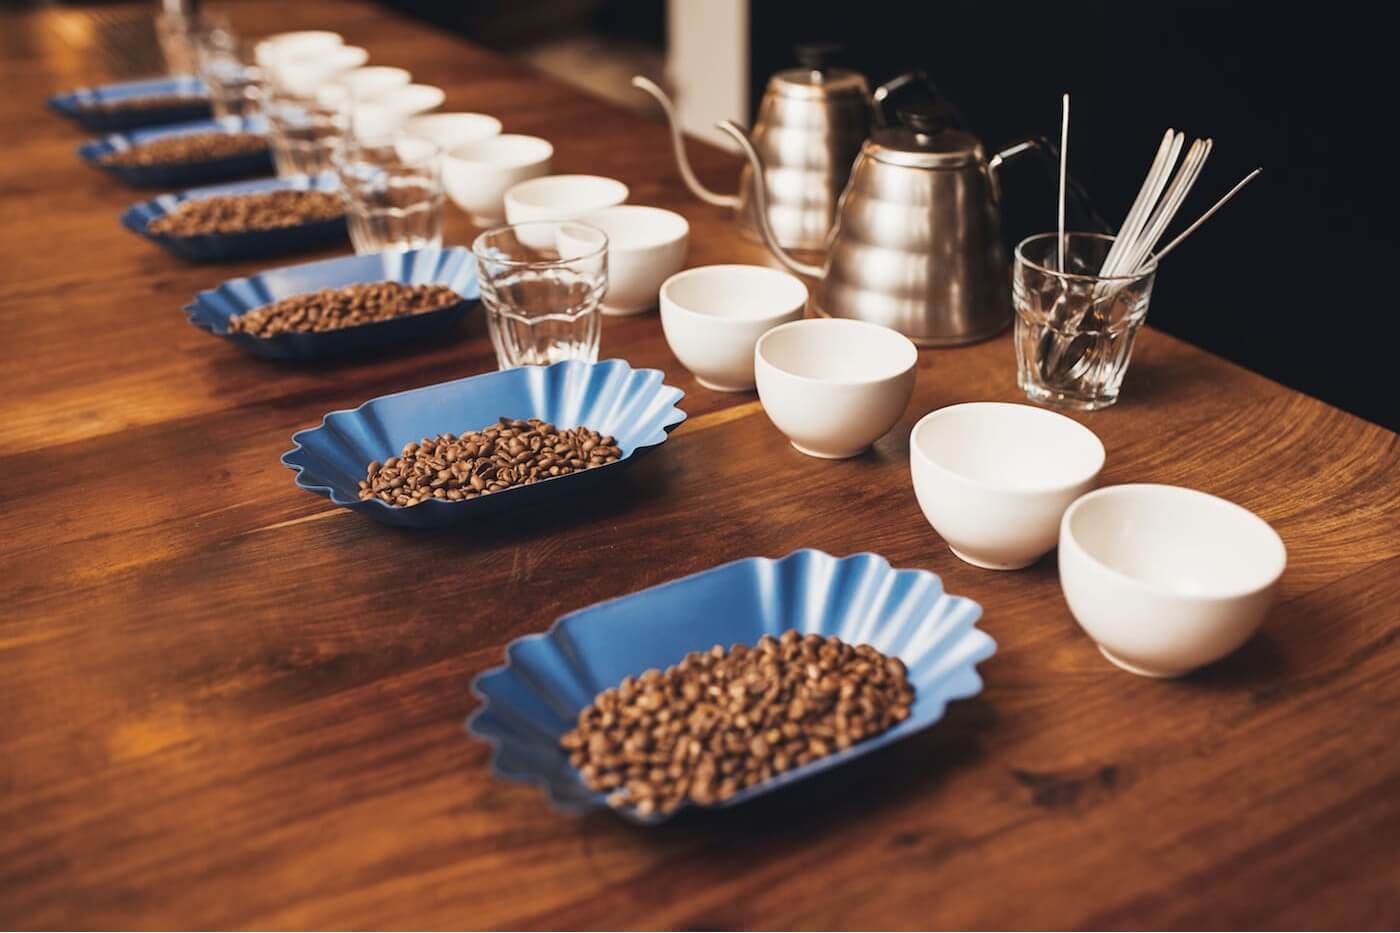
What you’ll need
- 20 g of each coffee you want to taste (two cups per coffee)
- Identical ceramic cups (160–200 ml)
- Soup spoon for each taster
- Coffee grinder
- Scales
- Kettle
- Bowl to collect wet grounds
- Glass of hot water for spoons
- SCAA Flavor Wheel (optional, for reference)
Step 1. Prime the grinder
Grind ~2 g of the first coffee and discard to clear leftover grounds. This prevents flavor carryover.
Step 2. Grind 9 g for the first cup
Grind medium-coarse (~sea salt) and place in cup #1. Label discreetly for blind tasting.
Step 3. Grind 9 g for the second cup
Grind another 9 g of the same coffee into cup #2. Keep the pair together.
Step 4. Repeat for each coffee
Prime the grinder each time you switch coffees. Set pairs of cups slightly apart by coffee.
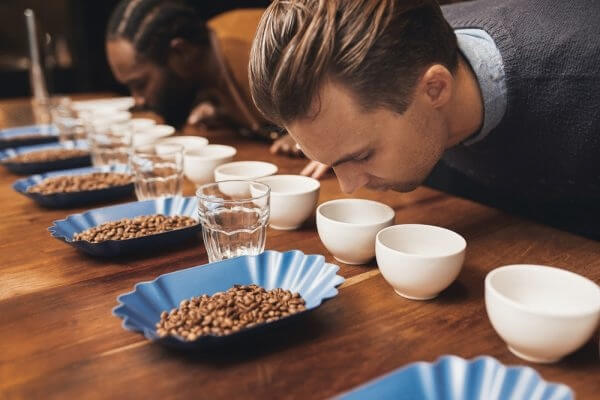
Step 5. Smell the dry aroma
Evaluate dry fragrance. Note anything you perceive—there’s no wrong answer.
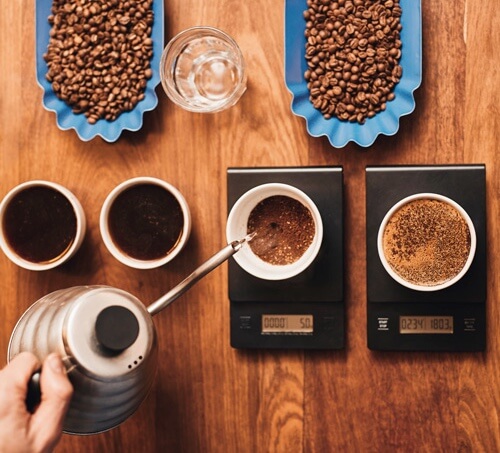
Step 6. Pour 150 ml of hot water
Start a timer and pour ~150 ml of ~94°C water into each cup. Ensure levels match across cups.
Step 7. Heat spoons
Fill a spare cup with hot water and rest spoons in it. This keeps them clean and warm between tasters.
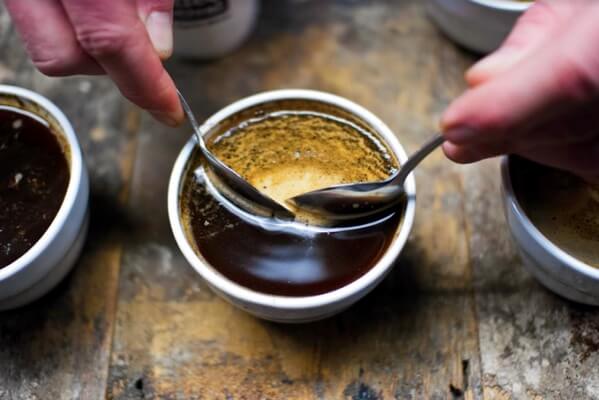
Step 8. Break the crust at 4:00
After 4 minutes, use the back of the spoon to push through the crust 3 times, inhaling the released aroma. Take notes.
Step 9. Skim remaining grounds
Using one or two spoons, skim floating grounds into the waste bowl so they don’t end up in your cup.
Step 10. Start tasting at ~15:00
As cups cool, flavors open up. Slurp a spoonful to aerate across your palate. Rinse your spoon between cups.
Step 11. Take notes
Record aroma, acidity, sweetness, body, aftertaste. Note differences between the paired cups if any.
Step 12. Repeat pass
Circle back for a second round. You’ll often perceive new nuances as your palate calibrates.
The Specialty Coffee Association’s SCA Flavor Wheel ↗ is a great reference for identifying flavour and aroma. Work from the center outward to get more specific notes.